Server Hardware
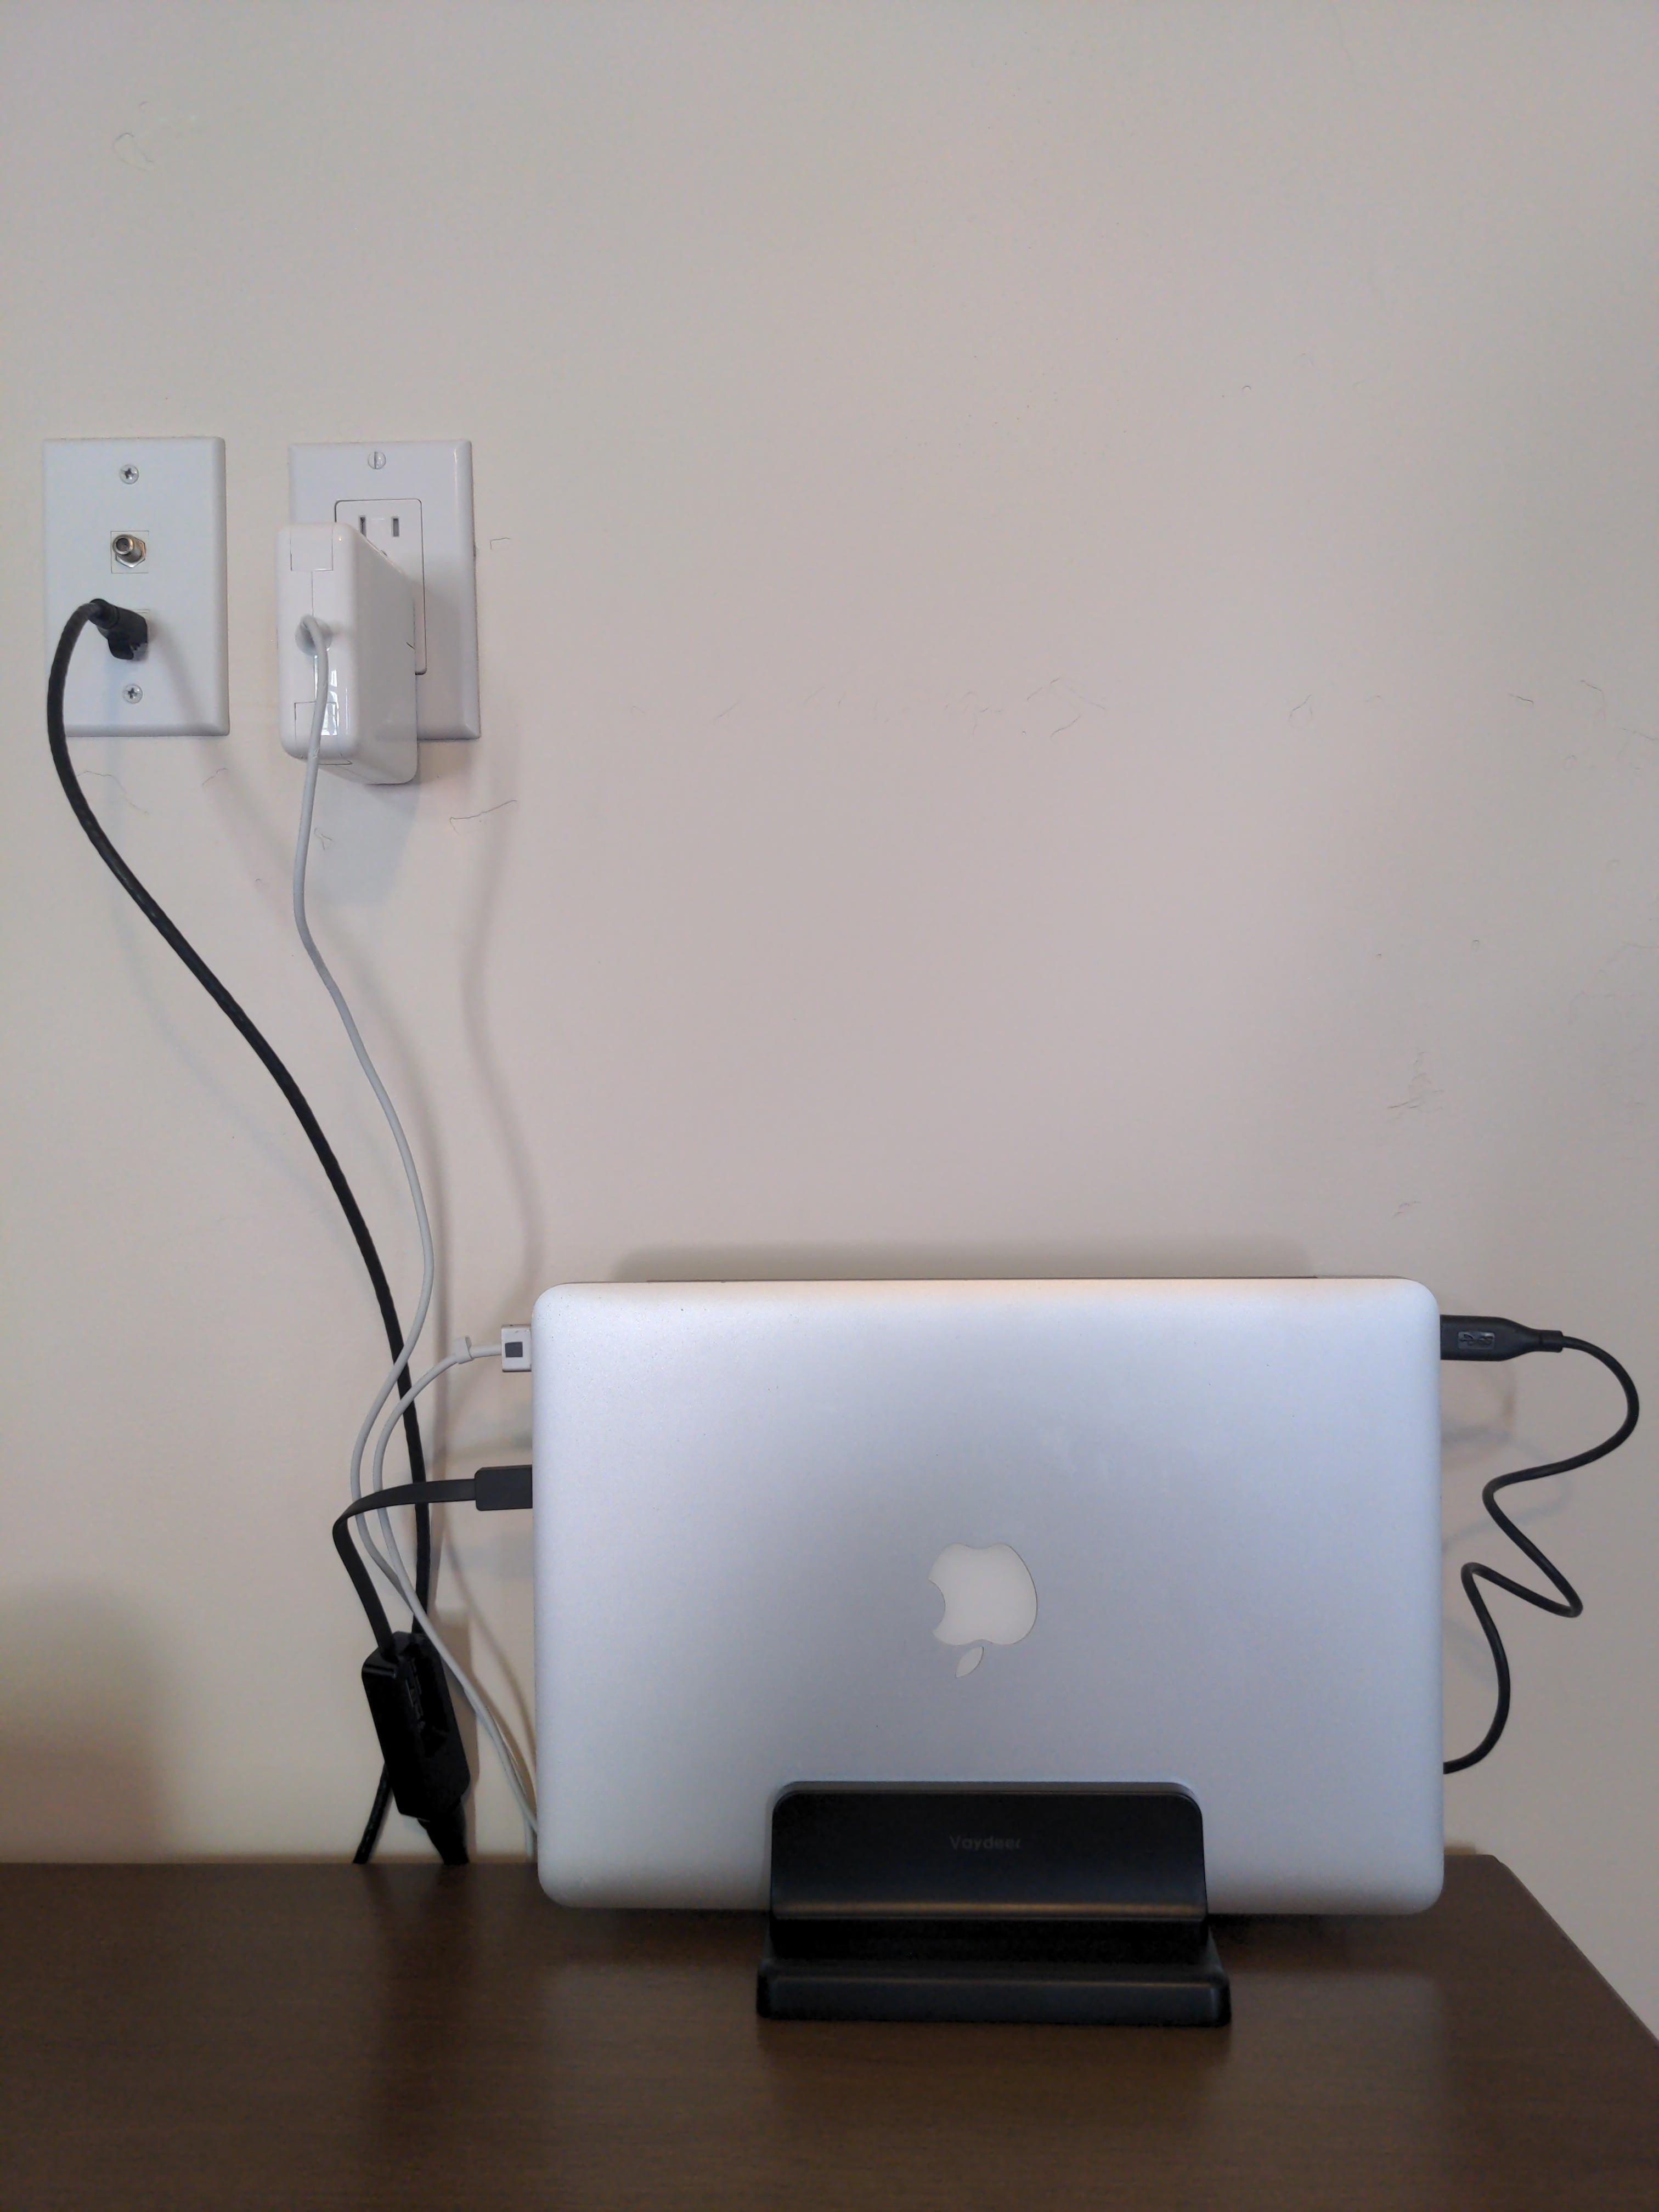
This website is being served, right now1, by an old 2015 Macbook Pro with broken screen, running Debian 12.

This post will outline not only how I went about doing so but also how you, a reader, might as well. Some is old-Macbook-specific, but any non-Apple laptop should be even easier.
Flashing Debian to a macbook is slightly different than you may be familiar with on would-be-Windows systems. You can get a Debian ISO Here, as you normally would (best practice is to torrent it and lighten their server load). Before you get rid of MacOS, open up the terminal and run this command:
hdiutil convert /path/to/downloaded.iso -format UDRW -o /desired/path/to/image.img
hdiutil is proprietary and closed-source, so you literally can’t do this without a Mac. After that, you should be able to write to a USB with the dd util as usual, reboot your Macbook while holding the “Option” key to get a boot menu, and follow the installation steps for your distribution.
To bypass the requirement of a power and external display connection, I had to configure systemd to ignore lid-switch events. In your /etc/systemd/logind.conf, setting HandleLidSwitch=ignore accomplishes exactly this. With the screen closed, and especially if you plan on laying the computer flat (don’t), you’ll want this open-source fan control daemon for the Macbook Pro. Without it, and laying flat, mine was hot to the touch… Oops!
Last, I used this USB Ethernet adapter to connect to my network–it’s a server, after all, so you can’t just settle for WiFi. Warning: the Apple brand Thunderbolt 2 Ethernet adapter does not work with default linux kernel modules (thunderbolt and thunderbolt-net kernel modules don’t seem to suffice as drivers for the ethernet adapter, at least as a network interface).
Local Network
I plan to write more about my home network setup, but I’ll gloss over the details and say that, in general, you’ll also want to ditch your ISP-provided cable modem/router/access point to really do this right. First, you’ll to assign a static IP address to your server. In general, you’ll do this in your router settings (http://192.168.0.1 by default). Wherever you find occurences of DHCP, you’ll find an option to configure a permanent (static) local IP address for your server. I’d recommend something memorable and outside the typical DHCP range (192.168.0.100 through 192.168.0.199), like 192.168.0.99. Whatever you choose to set, jot it down for the next step. If there isn’t an option for “port forwarding” or “virtual servers” setting option, you’ll need to upgrade to a router that has one. Otherwise, create port forwarding rules for ports 80 and 443 to the respective port on whatever IP address you set for your server.
Maybe you’ve already spotted a problem: the router settings page I directed you toward just a moment ago is also an external-facing website on (at least) port 80. So you’ll also probably need to configure your admin web GUI to use a different, unused port in order to avoid conflict (and be able to access both services). Later, you can set up local DNS services and a reverse proxy to access your admin web GUI without needing to remember a random port, but that’s for another post.
Frontend
The website itself is built with Hugo, an open-source, wicked fast static site generator written in Go, and I’m serving it with Nginx. My theme is designed to roughly match my catpuccin Zsh/Tmux/Neovim rice, with added terminal-style navigation controls. Pretty basic website–moving on!
Video Streaming
While it may look like a simple, familiar feature, the video on my about page is actually streamed in real time from my Macbook server. I deployed the site from my 2008 Thinkpad X61, when the video was initially served in its entirety, and the experience was awful. My Intel X3100 graphic chip was laughably ill-equipped to transcode HD video on the fly for its super weird 4:3 aspect ratio screen, and I was getting like 3 FPS. I know most people wont be accessing my site from a collector’s item, but laggy video sucks, and I saw no reason to settle if I could help it. So, I wrote a script using ffmpeg to pre-transcode the video and create a streaming playlist and manifest, which my Nginx HTTP server is configured to serve at an hls (“HTTP live streaming”) endpoint. Now, even on my beloved old X61, I can watch the video full screen with passably good resolution (I plan to add more resolution options but it is honestly not a very high priority, especially since the resolution is plenty for mobile too).
Cloudflare Proxying
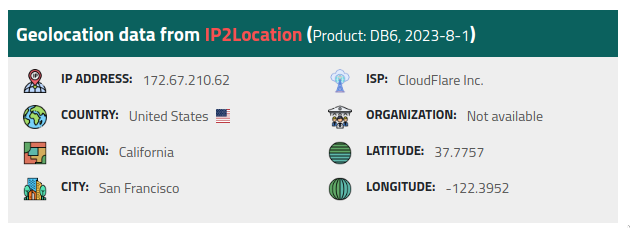
The last piece of the puzzle, which I’d absolutely recommend, is Cloudflare proxying. The basic package is free for hobby projects (which is all I needed), so you’re still at an all-in hosting cost of $0.00, and it could potentially save you a lot of headache. Of course, it does complicate the setup, so it might also give you a headache, but that’s part of the fun, right? Anyways… Since you’re using the current IP address of your house to serve the site, you might not want that directly exposed for DNS lookups. That’s sort of like sharing your approximate home address on the internet, which you may not want. The proxying part means that Cloudflare will obfuscate your actual IP, so DNS lookups will show this IP address:

And not the actual coordinates of, like, my house.
Cloudflare also gives you an additional firewall layer that helps protect against DDoS, known attackers, and other potential threats (this sounds like an ad, and I wish they were paying me, but nope). You should of course have protections against these and other kinds of security threats on your home network and the server itself (maybe more on that in a future post), but DDoS protection specifically is very hard to do. You also get Cloudflare’s CDN (content delivery network) caching, so your server only actually gets hit (especially as a static site) when a cache isn’t hit first. Last, but not least, instead of using Certbot/LetsEncrypt to setup SSL/TLS, Cloudflare will generate a 10-15 year expiry certificate, so that your site can be served over HTTPS and not evoke annoying browser warning for your visitors (which, honestly, is so stupid because it’s a static site with no backend/auth). A couple of lines in your Nginx site config and you’re good! No certbot errors!
Dynamic DNS
Now, this doesn’t have to be done using Cloudflare (and I was originally going it through AWS Route 53), but you’re gonna need to be using a nameserver provider with API access. This is because, unlike a traditional server on something like AWS or Heroku, your home IP address is changing constantly; it is a dynamic IP address. As a result, your website, which people find by making a DNS query for, in my case, “lnrssll.com” (dig lnrssll.com if you want to see how this works), is going to have to constantly move and point to different IP addresses. Obviously, you don’t want to have to do this yourself 2, so a great (and free) way to get DDNS (Dynamic DNS) is by setting up a cron job. I use a script that runs every 5 minutes to fetch my current public IP address and send an API request to Cloudflare to update my A record (the key-value record matching domain name to IP address). You might be thinking, “well, Lane, if it doesn’t actually change every 5 minutes, shouldn’t you just use the API to see if changed, and then update the A record only if necessary?”, but this actually means making more API calls. Somehow this fact is frustrating to me. I’m not really sure what I’m optimizing for here, but it probably isn’t Cloudflare’s server resource usage, so I’ve settled on “parsimonious scripting,” and that means no conditional checks.
Conclusion
Now, this may all feel like an exercise in frivolity, since there are so many cloud hosting providers out there, including free ones like Vercel, which even automate Github CI/CD for you (I use a bash script). To be honest, it would be way easier to have just hosted this elsewhere, and the $5 or whatever per month it would probably cost implies I don’t understand opportunity cost or the time-value of money, but I have a ton of small projects like this site, and some of them could stand to be a little more resource intensive than the cheapest tier on AWS offers. So, rather than trying to host 20 services on 10-20 t3 instances for like $3/mo a piece, I can host as much crap as I want, for free, on old hardware I don’t (and literally can’t, because of the screen) use anymore… and so can you! The free plans are also a recipe for future migration headache.
Financial point aside, I think self-hosting is an essential part of a healthy, open internet. Economies of scale are cool and stuff, but platform consolidation in tech lends itself to massive systemic fault intolerance and overreliance on centralized entities. Buy a domain, put up a site, and code whatever the f*** you want!3
